Showing posts with label creative ideas. Show all posts

Tuesday, June 12, 2012

DIY of the day


I really love these DIY projects, they make me excited and usually, I can't wait to make them.

This one is really nice and funny, and easy to create. You can even involve your kids in the activity, they will absolutely love it.

So if you have some empty walls, which are crying out for some colorful artworks, you should try to do it. I'm sure that everybody's going to admire it and ask "where did you buy it?"
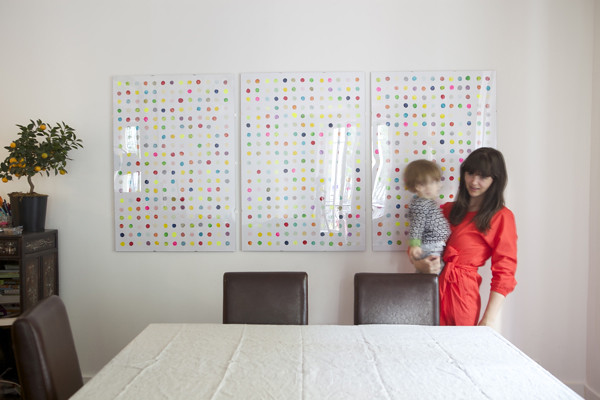


So let's check the materials that we need: 5 potatoes, acrylic paints in rainbow colors, black, white, and fluorescents, paper cups, brushes, plastic plates for mixing paints, ruler, pencil, large pieces of paper (however big you want your artwork).
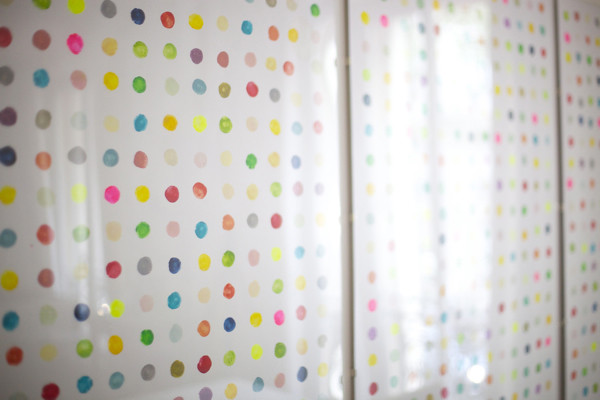


Step 1: Use your ruler and pencil place little marks where you are going to stamp your potato.

Step 2: Mix the paint. To get the greatest variety of colors mix your paint yourself in paper cups.

Step 3: Cut one or two of the potatoes in half and cut out a 3/4″ circle with a knife. You’ll want some more potato stamps so you can print with more colors at the same time.

Step 4: Print with one color at a time, place the paint on the plate so you can stamp the potato in it. Then start stamping randomly throughout the print. Continue with all the colors until it's all filled out.

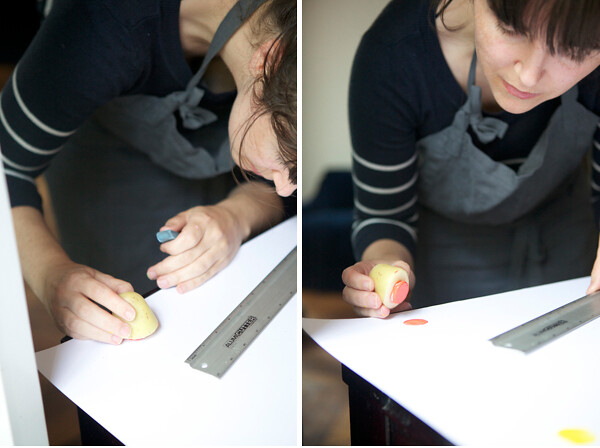


via

Wednesday, May 9, 2012

DIY project of the day: Sculptural Paper Orb Lighting


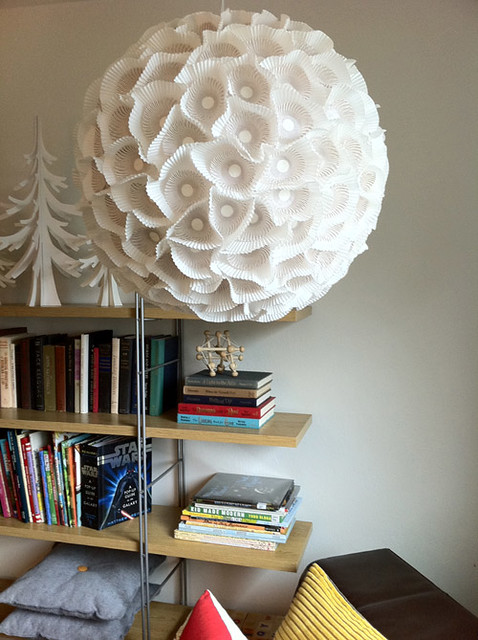
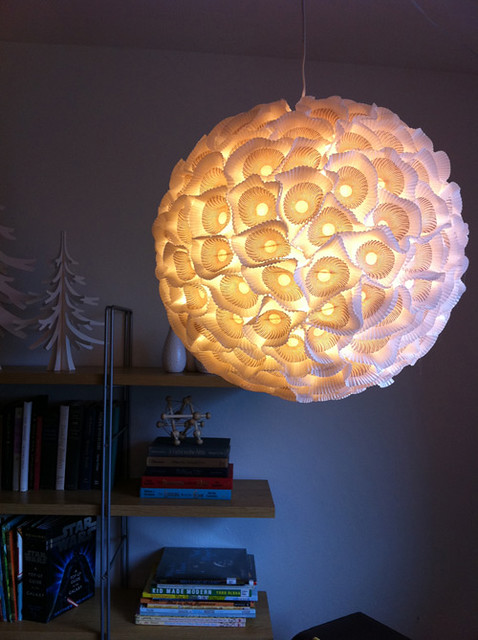
This project is a good example of the magic that can happen when you experiment with new materials. This Sculptural paper orb created by Heather Jennings looks very pretty and at the same time it's quite easy to make your own. This craft is also a great way to recycle an old lamp.
Let's check the materials that we need!

-100–125 white standard-sized paper cupcake liners
-100–125 vertically striped petit fours papers
-18–20″ white paper lantern
-hot glue gun
-1 Hemma Cord from IKEA

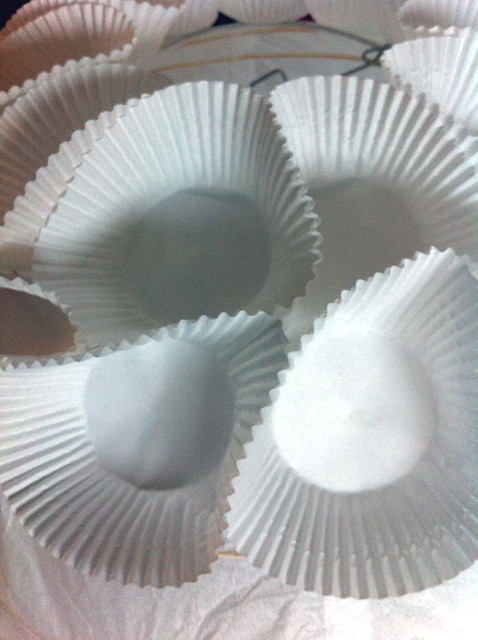
At first place the lantern in a wide shallow bowl to act as a base. Then put s small amount of glue on the backside of a white cupcake liner, place it on the lantern and press until it's attached. Continue around the ring, spacing the papers so that the circular bases are approximately 1''(2,54cm) apart.


Apply the cupcake papers around the lantern until you are 3/4 of the way down, then flip the lantern over and place it back in the bowl, top side down and complete the underside. Once you have finished applying the white cupcake liners, start applying the petit fours papers, centering them inside each white paper.


Drop a light in and enjoy your brand new creation.


via

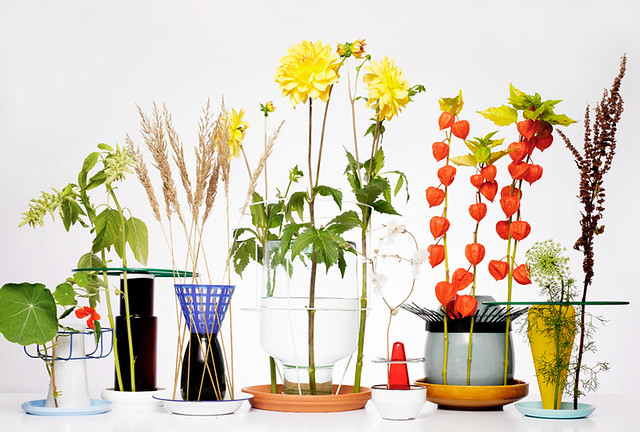
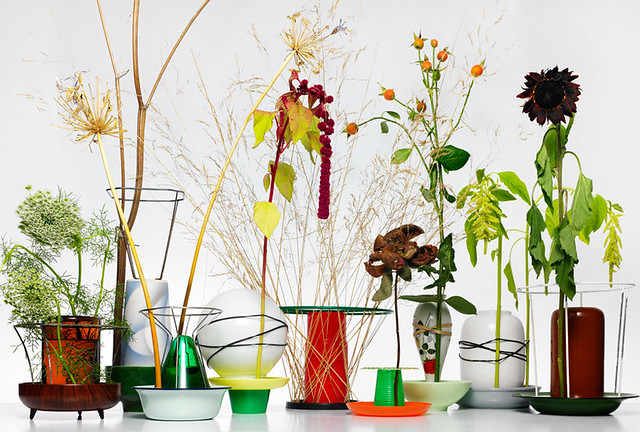
Hidden vases by Chris Kabel

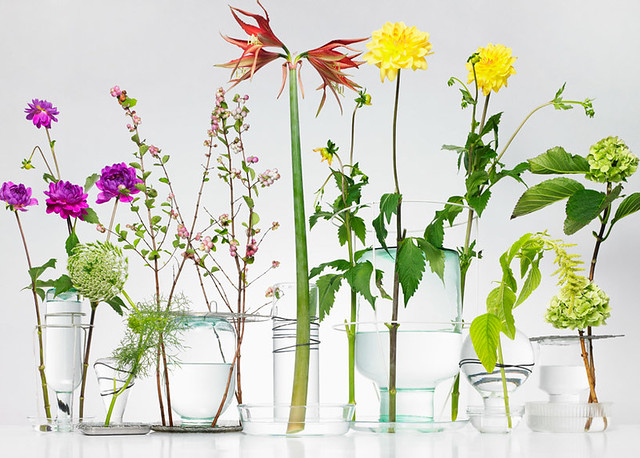
These self watering plant holders were designed by Chris Kabel from Rotterdam. The project started as a research on how to make the water source invisible and highlighting the flowers.

"The flowers are placed around the water container so that it seems as if they are growing directly from the plate."


The wire addition helps keep the flowers in place on the outside of the container


Clear container collection


Reversed wine bottle


A modular combination of containers

via

Sunday, April 8, 2012

Happy Easter everyone!


This Easter if you want to avoid the mess that comes with dyeing eggs, you should try an alternative method: decorate wooden eggs with paper flower.
Let's just see the supplies you will need: wooden eggs, acrylic paints, pre-made paper flowers or flower punches and paper glue.


Start to paint your eggs in the colors that want and let them to dry. When the eggs are dried you can simply glue the paper flower all around the egg, then allow them to dry. It's simple, very creative and you can bring out year after year.


via

Saturday, April 7, 2012

Glass jars

By adding these printable labels to the regular glass jars from Ikea you can create something very unique to your kitchen. It's a cheap and a very crafty idea! Here you can find the details! Have fun!